- Who this guide is for
- Why a single family charging station matters
- Where to place it (quick decision table)
- Step-by-step setup (printable checklist)
- Worked mini-example: 30–45 minute basic setup for a 2BHK family
- Electricity cost example (simple calculation)
- Safety and electrical rules (important)
- Storage and product suggestions (what to buy)
- Common mistakes
- Small-space solutions (three quick ideas)
- Next step
- Related sections in Smart Ghar Life
- Frequently Asked Questions
- Conclusion
- Family Drop Zone Organization for Keys, Bags, School Items and Chargers
- Use this plan in your own home
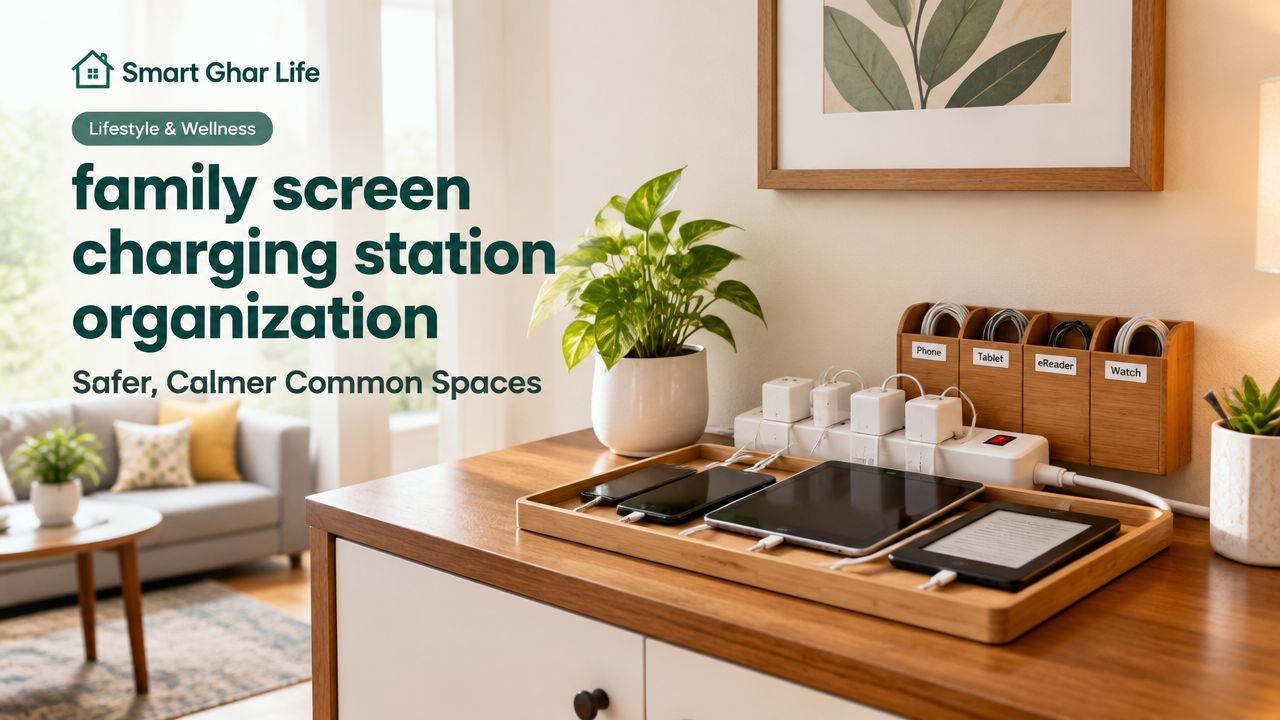
Short answer: Create one central, ventilated charging station in a shared area using a surge-protected power source, labelled cables or a cable organiser, and a simple nightly routine to keep devices charged, cords tidy and family spaces calmer and safer.
Updated/Reviewed: 15 October 2026
- First step: Pick the spot for the station (bright common area, near a socket, away from curtains/heaters) and clear it for a 30–60 minute setup session.
- Time needed: 30–90 minutes for a basic setup; 2–4 hours if you build shelves or add fixed sockets.
- Decision rule: Choose the least-used public-facing surface that is visible to the family (hall console, kitchen counter corner, or entry table); if space is very small, use a vertical wall shelf or a slim charging box by the door.
- Materials / tools: surge-protected power strip, certified chargers, cable organiser (box or clips), small shelf or tray, labels, short USB cables, non-slip mats, simple locking box (optional).
Who this guide is for
Families in Indian homes who want a single, safe place to charge phones, tablets, e-readers and wearables without cluttering the living room or kitchen. This guide fits small flats and larger homes, and focuses on practical safety, easy routines, and low-cost organization.
Why a single family charging station matters
A dedicated charging station cuts cord clutter, prevents devices from being left on sofas or beds (fire risk), helps everyone find chargers quickly, and supports a simple nightly routine so mornings are less chaotic. It also protects devices from power spikes if you use surge protection.
Where to place it (quick decision table)
| Location option | Best for | Notes |
|---|---|---|
| Hall console or entry table | Visibility; good for family routines | Keep away from drapery; add a tray to hold devices |
| Kitchen counter corner | Central, monitored during evenings | Keep devices out of cooking splatter; choose higher shelf if needed |
| Wall-mounted shelf or charging pocket | Small homes, saves floor space | Install securely; hide cables with trunking |
| Charging drawer/box | Neat look, hides cables | Ensure ventilation and never charge sealed batteries in closed boxes without airflow |
Step-by-step setup (printable checklist)
- Choose a visible, ventilated location near an electrical socket and away from curtains, paper or other flammable items.
- Declutter the chosen surface (remove papers, cups, luggage). Consider the One-In-One-Out rule for chargers and cables.
- Check sockets and wiring; if sockets are loose or you want a fixed solution, schedule an electrician visit (safety first).
- Buy or use a good-quality surge-protected power strip with enough outlets. Avoid cheap, unbranded strips.
- Use short USB cables (20–50 cm) to reduce tangles. Keep one spare long cable for guests.
- Install cable organisers: cable clips, a small box that hides the power strip, or a wooden tray with cutouts for cables.
- Label cables or charging slots by user or device using simple adhesive labels.
- Add device stands or a small rack so devices rest upright, not stacked—this improves cooling and visibility.
- Place a small non-slip mat under the station to protect the surface and reduce slips.
- Set a family rule: devices go to the station at dinner or by a set bedtime; remove charging devices from the station in the morning after unplugging safely.
- Once a month, check cables for fraying, the power strip for heat and sockets for loose contacts. Replace faulty items immediately.
Worked mini-example: 30–45 minute basic setup for a 2BHK family
Materials on hand: small console table near the entry, one 3-metre surge-protected power strip, four short USB cables (30 cm), a small wooden tray and sticky labels.
- Clear the console table (5 minutes).
- Place power strip behind the table and route cable through a tray cut-out (10 minutes).
- Lay the tray on the table, attach cable clips so each cable has a fixed path (10 minutes).
- Label three slots: “Parents”, “Kids”, “Guest” and place device stands (10 minutes).
- Explain the rule at dinner: all phones go to the station by 10 pm. (5–10 minutes)
Electricity cost example (simple calculation)
Use watts × hours × days ÷ 1000 to calculate kWh. Sample calculation for four phones charging each evening:
Assumptions (example): each phone draws 10 W while charging, charged 2 hours/day, 4 phones.
Calculation: 10 W × 4 phones = 40 W; 40 W × 2 hours/day = 80 Wh/day = 0.08 kWh/day.
Monthly energy: 0.08 kWh/day × 30 days = 2.4 kWh/month.
At a sample electricity tariff of ₹8/kWh, cost = 2.4 × ₹8 = ₹19.20 per month. (This is an example. Check your actual tariff on your bill.)
Safety and electrical rules (important)
- Use certified chargers and cables (look for manufacturer or BIS markings). Faulty chargers are a common risk.
- Do not overload a single socket—check the power strip rating and avoid plugging heater-type loads into the same strip.
- Never charge devices under pillows or inside completely closed boxes without airflow; batteries get warm when charging.
- If you need new sockets or a permanent built-in solution, hire a qualified electrician. Do not attempt high-access or wiring changes yourself.
- Keep chargers and devices away from water and kitchen splatter areas.
Storage and product suggestions (what to buy)
- Surge-protected power strip with at least 3–5 USB-enabled outlets.
- Short, good-quality USB-A/USB-C cables (20–50 cm) to reduce clutter.
- Small wooden or plastic tray with cable slots or a cable-management box.
- Vertical phone stands or simple desk organisers to hold devices upright.
- Label stickers and cable clips for neat routing.
Common mistakes
- Hiding the station in a drawer or under a cushion where chargers overheat and smoke risk increases.
- Using many long cables that tangle and create tripping hazards in the common space.
- Keeping damaged chargers or frayed wires in use—replace at first sign of damage.
- Mixing cheap, unbranded multi-plugs without surge protection with valuable devices.
- Placing the station too close to cooking zones or water sources.
Small-space solutions (three quick ideas)
- Wall-mounted pocket organiser with USB extension hidden behind the wall plate—great for tiny flats.
- Stacked vertical charging shelf—fits in a narrow corridor and uses vertical space.
- Multi-device charging box with ventilation holes and a single surge-protected inlet—keeps devices hidden but monitored.
Next step
Set a 30–60 minute weekend session to choose the place and buy one surge-protected strip and short cables. Test the layout that evening and set the family bedtime charging rule. For related organisation ideas and routines, read our Family Drop Zone Organization for Keys, Bags, School Items and Chargers and Evening Home Reset Routine That Makes Mornings Easier. If you need to reduce devices, try the One in One Out Decluttering Rule.
Related sections in Smart Ghar Life
This topic connects to other areas of the site: Home & Living, Organization, Home Products, Bills & Utilities (electricity calculations), Safety and Simple Living. For storage ideas, see our vertical storage and kitchen organisation articles linked in the site map.
Frequently Asked Questions
Conclusion
Organising a family charging station is a small investment of time that delivers calmer common spaces, less lost time searching for chargers, and better safety. Start by choosing a visible location, use surge protection and short cables, set a clear family rule for nightly charging, and check equipment monthly. For next steps to reduce clutter around the house, try our related guides on family drop zones and evening reset routines.
Suggested next guide: Family Drop Zone Organization for Keys, Bags, School Items and Chargers
Use this plan in your own home
Treat the guide as a practical starting point and adjust it for your rooms, materials, appliances, climate, family size and daily routine.
How this guide was prepared
This guide is prepared for everyday readers using practical research, usability checks and editorial review. Product-specific claims should be verified against manufacturer instructions before purchase.
- Reviewed: October 15, 2026
- Next review target: April 15, 2027
- Read our Editorial Policy · Request a correction
How did you like this article?
Your feedback helps us make our stories more useful.

Ashish Pandey
My name is Ashish Pandey, I work as a content writer and I love to write articles. With 4 years of blogging experience I am always ready to inspire others and share knowledge to make them a successful blogger.
Related Articles
 Organization
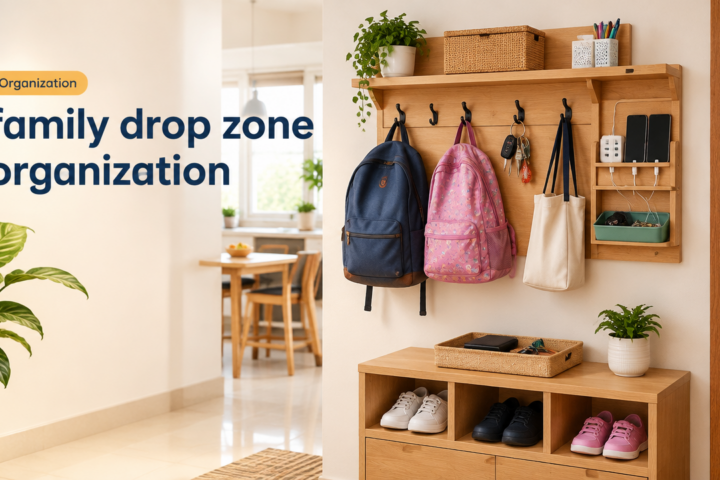
Family Drop Zone Organization for Keys, Bags, School Items and Chargers
Create a simple, central family drop zone for keys, bags, school items and chargers — with a quick set-up plan, printable checklist…
 Lifestyle & Wellness
Festive Decluttering Routine for a Calmer Home Before Guests Arrive
A practical festive decluttering routine to create a calmer, guest-ready home. Quick action plan, printable checklist, a 30-minute wardrobe mini-sort and common…
Join the Discussion
Join the conversation and share a useful tip or experience.